

이 챔피언을 Builder에서 열기

조이

Advertisement
조이
Tier 2

조이

중재자 중재자전달자 전달자
Stats
체력체력
550/990/1782
방어력방어력
20
MRMR
20
공격력공격력
30/45/68
공격 속도공격 속도
0.7
마나마나
0/50
사거리사거리
4
치명타 확률치명타 확률
25

이 유닛으로 시작

조이와 추천 아이템을 Builder에 불러와 배치와 덱을 조정하세요.

조이 Quick Summary

targetRole

Backline carry · 중재자 and 전달자

inventory_2Best Items

모렐로노미콘, 공허의 지팡이 and 쇼진의 창

flagWhen To Play

Play when it upgrades naturally with matching items

grid_viewPositioning

Back two rows, away from splash

Champion Strategy

sports_esports

How to play 조이

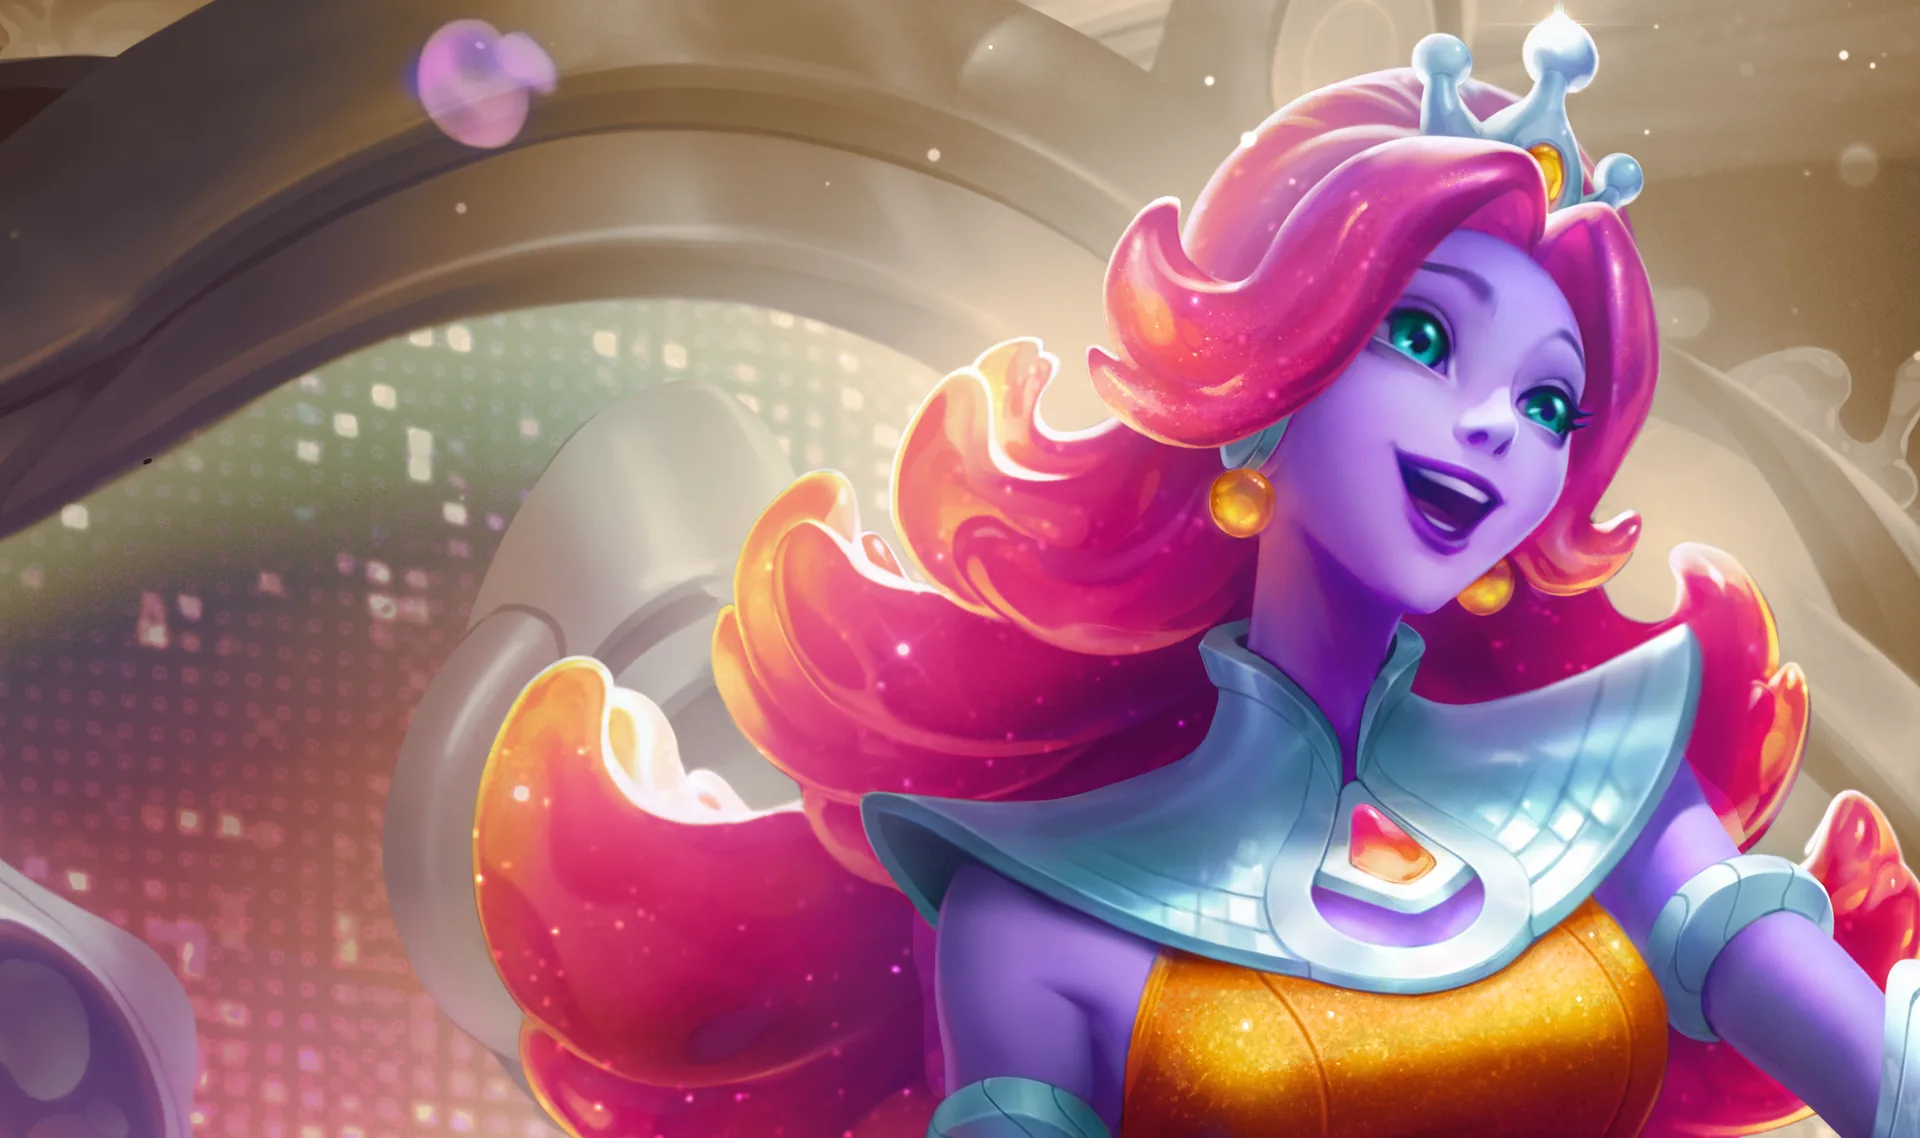
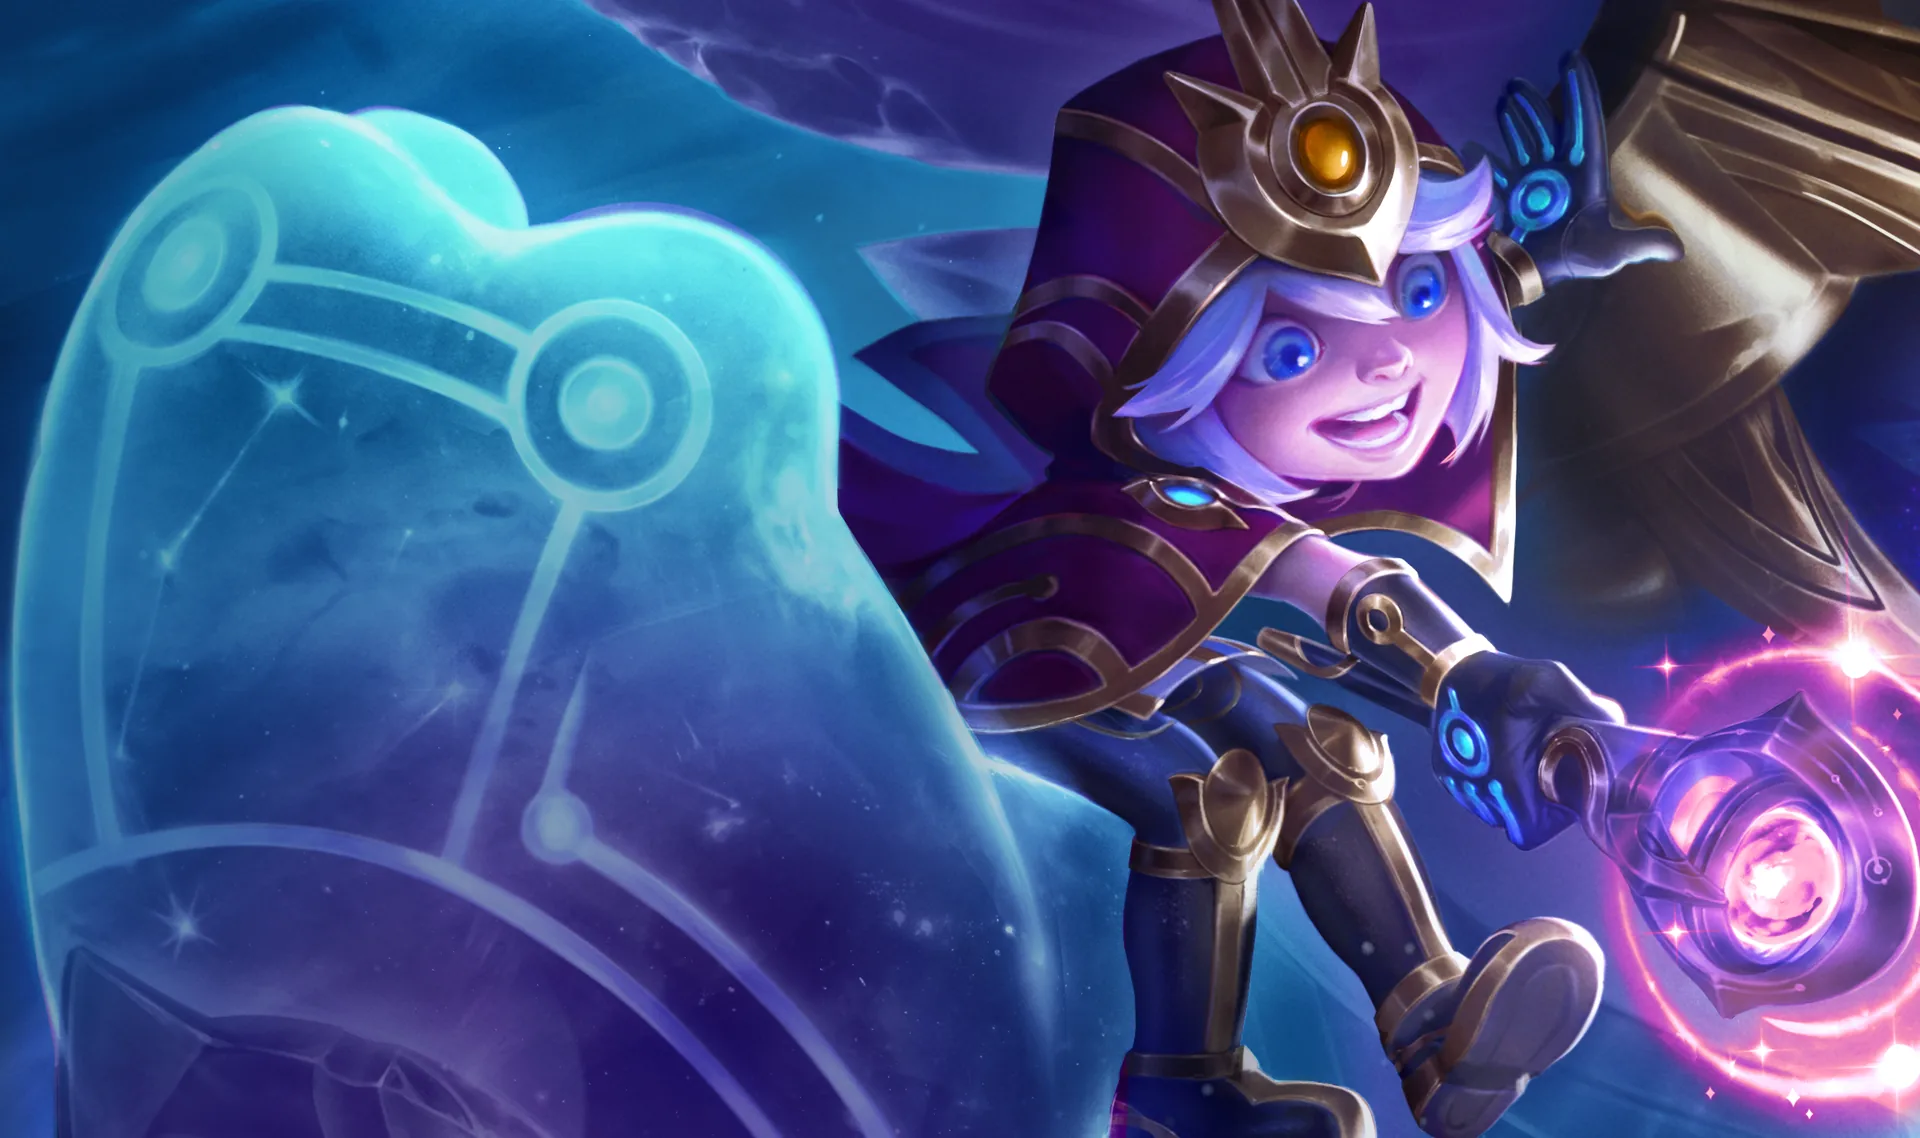
조이 is a 2-cost 중재자 and 전달자 champion that usually plays as a backline damage dealer. It needs safe damage uptime, and the unit gets much better when your frontline buys enough time. 조이 appears in Protect Teemo and Mirror Mayhem lines, so keep copies when those boards are open.

flag

When to play 조이

Consider playing around 조이 when you naturally upgrade it between Stage 2 and Stage 3 and can afford to slow roll. For items, 모렐로노미콘 and 공허의 지팡이 are strong signals that 조이 can become a real carry. For team direction, it fits naturally when you are already moving toward Protect Teemo and Mirror Mayhem. If it stays one-star, the traits do not activate, or the items point elsewhere, treat it as a transition unit instead of forcing the line.

construction

Why these items work

모렐로노미콘, 공허의 지팡이 and 쇼진의 창 are recommended. 모렐로노미콘 spreads burn and healing reduction, 공허의 지팡이 helps magic damage punch through resistance and 쇼진의 창 speeds up repeated casts. The point of the setup is to give it enough uptime to convert its damage pattern into round wins.

swap_horiz

Item alternatives

When the perfect setup is not available, use 붉은 덩굴정령, 태양불꽃 망토, 이온 충격기 and 보석 건틀릿 as substitutes. For damage substitutes, match the damage type and cast tempo instead of forcing random stats. If 조이 is only a trait slot, one useful item is enough and the premium items should go to your real carry or main tank.

timeline

Early, mid, and late game

Early: a two-star 조이 can stabilize well when 중재자 and 전달자 is already active. Mid game: decide between slow rolling for upgrades or using it as a bridge while leveling. Late game: keep it when the items and traits still point toward it; otherwise upgrade into a higher-cost carry or tank.

grid_view

Positioning tips

Place 조이 in the back two rows with a clear line to the enemy frontline. Spread it away from your other carry unless you need same-side focus fire. It needs time to start casting, so avoid letting it get deleted immediately.

스킬

마나
Mana0/50
통통별
사용 시

통통별

사용 시

현재 대상에 통통별을 날려 처음 적중한 대상에게 73/110/180AP의 마법 피해를 입히고, 그 외에는 관통하며 34/51/77AP의 피해를 입힙니다. 투사체는 목표 지점에 도달하면 방향을 전환해 멀리 있는 적에게 날아가고, 이동 속도가 증가하며 동일한 피해를 입힙니다. 방향 전환은 54회 발동됩니다.

특성

중재자

origin

중재자

고유한 신성한 법칙을 기록해 중재자의 효과를 선택합니다. 17.4부터 입력은 꾸준함, 조건, 경제 풀로 나뉘고 출력은 공격, 방어, 경제 풀로 나뉩니다. 게임마다 각 풀에서 하나씩 제시되며, 골드 또는 레오나 보상 확률이 100%를 초과하면 남는 확률로 두 번째 보상을 굴려 최대 2회 발동합니다.

2

(2) 법률의 원인과 결과 선택

3

(3) 결과가 더 강력해짐

전달자

class

전달자

고유: 전달자가 모든 요소로부터 얻는 마나가 20% 증가합니다.

아군이 마나 재생을 얻습니다. 전달자는 능력치를 더 얻습니다.

() 1 마나 재생 | 3 마나 재생

2

1 Mana | 3 Mana

3

1 Mana | 5 Mana

4

2 Mana | 7 Mana

5

3 Mana | 9 Mana

자주 쓰이는 덱

Protect Teemo

Protect Teemo

A Tier
블리츠크랭크
블리츠크랭크
누누와 윌럼프
누누와 윌럼프
르블랑
모렐로노미콘공허의 지팡이
르블랑
일라오이
일라오이
모데카이저
모데카이저
조이
조이
나서스
도적의 장갑
나서스
티모
대천사의 지팡이거인 학살자구인수의 격노검
티모
레오나
가고일 돌갑옷가고일 돌갑옷워모그의 갑옷
레오나
Mirror Mayhem

Mirror Mayhem

A Tier
르블랑
구인수의 격노검거인 학살자마법공학 총검
르블랑
누누와 윌럼프
크라운가드수호자의 맹세워모그의 갑옷
누누와 윌럼프
카르마
쇼진의 창공허의 지팡이모렐로노미콘
카르마
일라오이
일라오이
꼬마 정령
꼬마 정령
모데카이저
모데카이저
조이
조이
레오나
레오나
Conduit Reroll

Conduit Reroll

A Tier
바드
바드
빅토르
보석 건틀릿대천사의 지팡이
빅토르
미스 포츈
무한의 대검푸른 파수꾼타격대의 철퇴
미스 포츈
마오카이
마오카이
라아스트
도적의 장갑
라아스트
오른
태양불꽃 망토워모그의 갑옷정령의 형상
오른
조이
조이
그라가스
그라가스
아트록스
아트록스
Vanguard Space Groove

Vanguard Space Groove

S Tier
나미
나미
일라오이
일라오이
조이
보석 건틀릿쇼진의 창
조이
모데카이저
모데카이저
티모
마법공학 총검구인수의 격노검거인 학살자
티모
나서스
나서스
레오나
가고일 돌갑옷워모그의 갑옷가고일 돌갑옷
레오나
리산드라
내셔의 이빨보석 건틀릿
리산드라
Vanguard Arbiter

Vanguard Arbiter

A Tier
카르마
카르마
누누와 윌럼프
누누와 윌럼프
르블랑
구인수의 격노검거인 학살자보석 건틀릿
르블랑
일라오이
태양불꽃 망토워모그의 갑옷정령의 형상
일라오이
조이
모렐로노미콘공허의 지팡이쇼진의 창
조이
꼬마 정령
꼬마 정령
모데카이저
용의 발톱정령의 형상스테락의 도전
모데카이저
레오나
레오나